Search by tag: macos
2 articles
How to run two Android Studio instances on macOS
If you're an Android developer who juggles both professional and personal projects, you've probably faced this dilemma: you want to experiment with new plugins, test beta features, or try out different configurations on your personal projects—but you can't risk breaking your stable, production-ready setup.
The solution? Run two independent copies of Android Studio on the same Mac. This guide walks you through creating a completely isolated custom instance alongside your regular one, with separate configurations, caches, and settings.
Step-by-step setup
1️⃣ Copy the Android Studio bundle, in order to update its configuration.
First, create a duplicate of your existing Android Studio application. Here I had already manually installed another copy, but you could directly duplicate your original regular installation, that should be located in /Applications/Android\ Studio.app
Adjust the paths to match your actual installation location.
ORIG="$HOME/Applications/Android Studio Perso/Android Studio Perso.app"
COPY="$HOME/Applications/Android Studio Perso/Android Studio Perso-copy.app"

cp -R "$ORIG" "$COPY"
2️⃣ Remove macOS quarantine attributes
macOS marks downloaded or copied applications with a quarantine flag that can prevent them from launching properly:
xattr -dr com.apple.quarantine "$COPY"3️⃣ Clear immutable flags
Some installations may have immutable flags set:
chflags -R nouchg "$COPY"4️⃣ Configure separate directories
Find and edit the idea.properties file inside the copied application:
FILE=$(find "$COPY" -type f -name idea.properties)
vi "$FILE"
Uncomment these four lines, and modify the two first ones to point to your personal configuration directory:
idea.config.path=${user.home}/.AndroidStudioPerso/config
idea.system.path=${user.home}/.AndroidStudioPerso/system
idea.plugins.path=${idea.config.path}/plugins
idea.log.path=${idea.system.path}/log
Save and exit. This ensures your custom instance stores all settings, caches, and logs separately from your regular one.
5️⃣ Clean recent projects list (optional)
Remove the cached recent projects file to start fresh:
rm -f "$HOME/.AndroidStudioPerso/config/options/recentProjects.xml"6️⃣ Launch the new instance
Open your copied application:
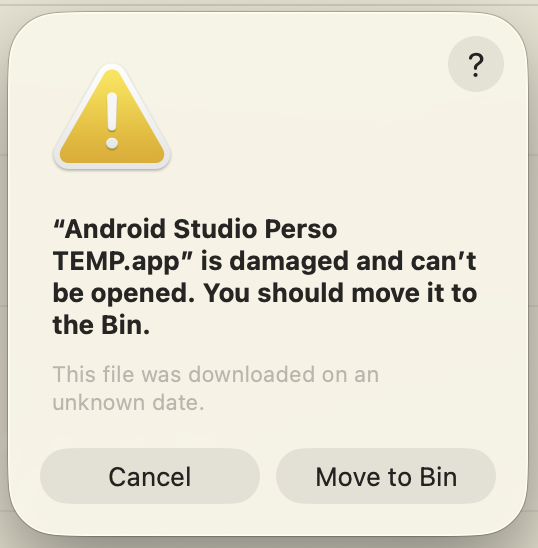
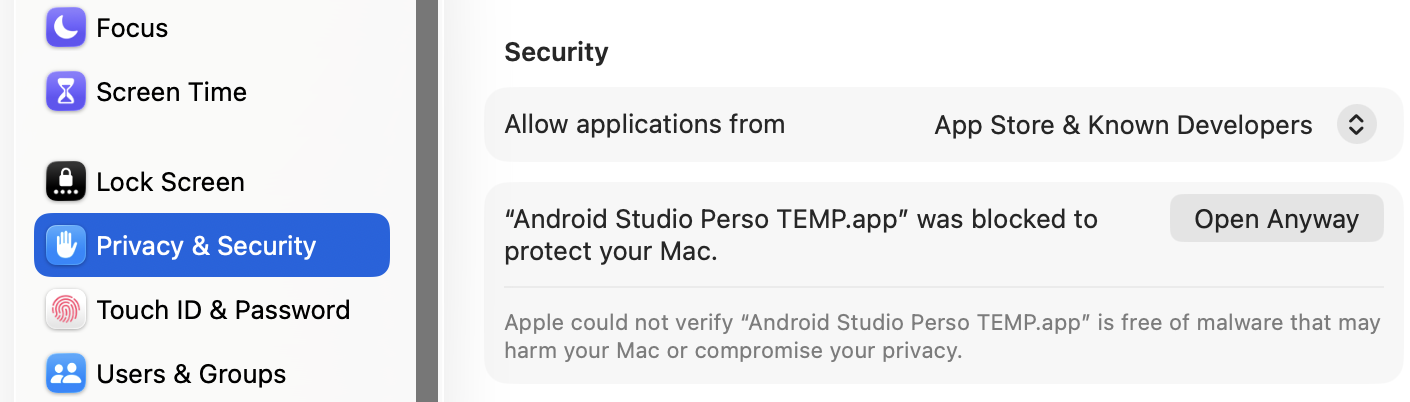
open "$COPY"On first launch, macOS may display a security popup. Click Cancel, then go to System Settings > Privacy & Security and authorize the application to run.
7️⃣ (Optional) Overwrite your previous copy
If you duplicated a previous custom installation:
rm -rf "$ORIG"
mv "$COPY" "$ORIG"
Android Studio shortcuts on macOS
This post will serve as a memo for the most useful shortcuts in Android Studio, running on macOS.
I use the IdeaVim plugin, which may cause conflicts with the default shortcuts. Thus, some of my shortcuts could be different from yours. Android Studio allows the remapping of all its features (or almost ?) in Settings => Keymap

Navigation / Error handling
- F2 – Jump to the next error or warning in the file.
Refactoring
- ⇧+ F6 – Rename the selected symbol (class, method, variable, etc.).
- ⌘ T – Open the Refactor submenu (same as right‑click → Refactor).
- ⌥ ⌘ P – Introduce a parameter to a function/method declaration.
- ⌥ ⌘ M – Extract the selected code into a new function.
- ⌥ ⌘ V – Extract the selected expression into a new variable.
- ⌥ ⌘ F – Extract the selected expression into a new property (field).
- ⌥ ⌘ N – Inline a property (replace its usages with the underlying expression).
Editing / Moving code
- ⌥ ↑ / ⌥ ↓ – Extend the current selection upward or downward (expand selection).
- ⌥ ⇧ ↑ / ⌥ ⇧ ↓ – Move the current line (or selected block) up or down.
- ⌥ ⇧ Click – Add additional cursors at each click location (multiple‑cursor editing).
General movement
- F6 – Move the selected element (e.g., a file or a UI component) to a new location.
Simulator
- ⌘⇧S – Take a screenshot.