Search by tag: security
2 articles
How to run two Android Studio instances on macOS
If you're an Android developer who juggles both professional and personal projects, you've probably faced this dilemma: you want to experiment with new plugins, test beta features, or try out different configurations on your personal projects—but you can't risk breaking your stable, production-ready setup.
The solution? Run two independent copies of Android Studio on the same Mac. This guide walks you through creating a completely isolated custom instance alongside your regular one, with separate configurations, caches, and settings.
Step-by-step setup
1️⃣ Copy the Android Studio bundle, in order to update its configuration.
First, create a duplicate of your existing Android Studio application. Here I had already manually installed another copy, but you could directly duplicate your original regular installation, that should be located in /Applications/Android\ Studio.app
Adjust the paths to match your actual installation location.
ORIG="$HOME/Applications/Android Studio Perso/Android Studio Perso.app"
COPY="$HOME/Applications/Android Studio Perso/Android Studio Perso-copy.app"

cp -R "$ORIG" "$COPY"
2️⃣ Remove macOS quarantine attributes
macOS marks downloaded or copied applications with a quarantine flag that can prevent them from launching properly:
xattr -dr com.apple.quarantine "$COPY"3️⃣ Clear immutable flags
Some installations may have immutable flags set:
chflags -R nouchg "$COPY"4️⃣ Configure separate directories
Find and edit the idea.properties file inside the copied application:
FILE=$(find "$COPY" -type f -name idea.properties)
vi "$FILE"
Uncomment these four lines, and modify the two first ones to point to your personal configuration directory:
idea.config.path=${user.home}/.AndroidStudioPerso/config
idea.system.path=${user.home}/.AndroidStudioPerso/system
idea.plugins.path=${idea.config.path}/plugins
idea.log.path=${idea.system.path}/log
Save and exit. This ensures your custom instance stores all settings, caches, and logs separately from your regular one.
5️⃣ Clean recent projects list (optional)
Remove the cached recent projects file to start fresh:
rm -f "$HOME/.AndroidStudioPerso/config/options/recentProjects.xml"6️⃣ Launch the new instance
Open your copied application:
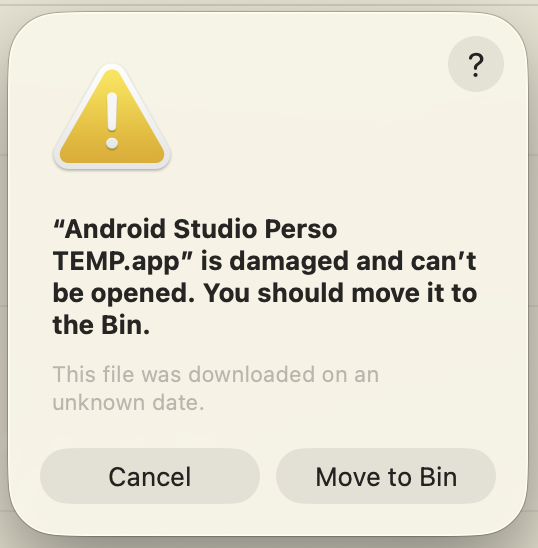
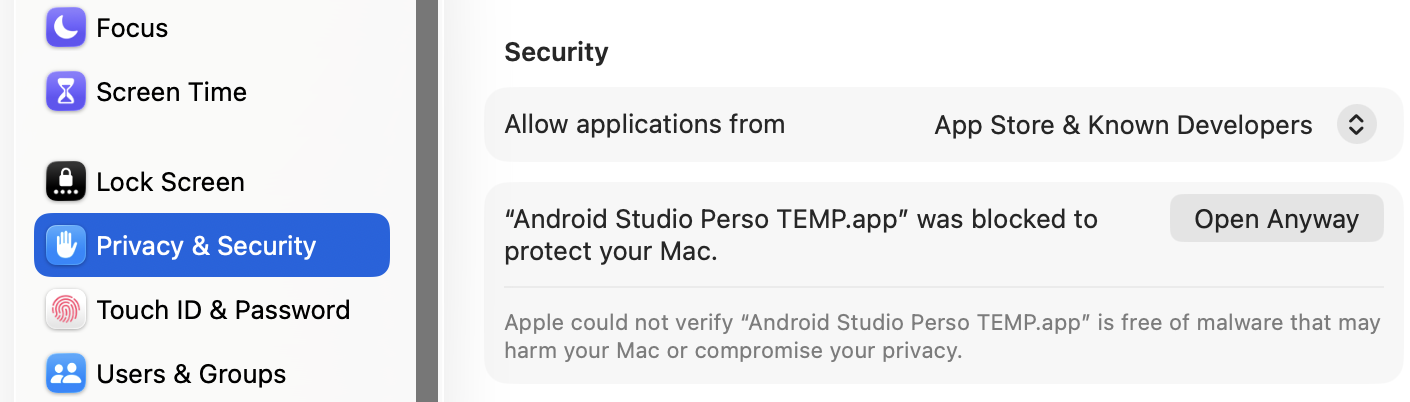
open "$COPY"On first launch, macOS may display a security popup. Click Cancel, then go to System Settings > Privacy & Security and authorize the application to run.
7️⃣ (Optional) Overwrite your previous copy
If you duplicated a previous custom installation:
rm -rf "$ORIG"
mv "$COPY" "$ORIG"
Apache: enable HTTPS
To enable HTTP Secure (HTTPS) on Apache, we first enable the modules called mod_ssl and mod_socache_shmcb in the main Apache configuration file, located at /etc/httpd/conf/httpd.conf:
LoadModule socache_shmcb_module modules/mod_socache_shmcb.so
LoadModule ssl_module modules/mod_ssl.so
We include SSL own configuration file:
# Secure (SSL/TLS) connections
Include conf/extra/httpd-ssl.conf
In this file, we also set a document root (or keep the default path depending on where we put our web application) and a server name. We use the default 443 port.
DocumentRoot "/srv/http/secure_application"
ServerName localhost:443
We can also edit the path to our certificate files but I kept mines at the default location:
SSLCertificateFile "/etc/httpd/conf/server.crt"
[...]
SSLCertificateKeyFile "/etc/httpd/conf/server.key"
Finally we need to get or generate our certificate. I have created a self-signed one for my development environment but it is not recommended on live servers. As written above, I kept the default path so in this example we are going to create our certificate in that folder. We start by generating our key:
$ cd /etc/httpd/conf/
$ sudo openssl genrsa -out server.key 4096
Generating RSA private key, 4096 bit long modulus [...]
This is our private key so we need to restrict permissions to make sure no one else can read it:
$ sudo chmod 600 server.key
Then we need to generate the Certificate Signing Requests (CSR). We are prompted for a few informations which can be left blank but the important one is Common Name, which must be the domain of our site like www.drkdidel.be or *.drkdidel.be. But for our development environment, we just write localhost.
$ sudo openssl req -new -key server.key -out server.csr
You are about to be asked to enter information that will be incorporated into your certificate request.
[...]
Common Name (e.g. server FQDN or YOUR name) []:localhost
Finally we generate our certificate and restart Apache:
$ sudo openssl x509 -req -days 3650 -in server.csr -signkey server.key -out server.crt
$ sudo systemctl restart httpd.service
Now we can browse to https://localhost/ and make the browser display a worrying alert:

This is caused by our self-signed certificate which has no security value (if you see this on a live website, you should follow the advice of "Getting out of here!"). In Firefox, we can click on "I Understand the Risks" then on the "Add Exception..." button. This will display a pop-up window where we can tell Firefox to not bother us again when accessing our server. Check "Permanently store this exception" then click "Confirm Security Exception" which will close the pop-up and reload the page:
